This article is specific to STAHLS' Fulfill Engine Seller Essential accounts.
From the white-label store you will select the Products option > then select to +Add a new product.
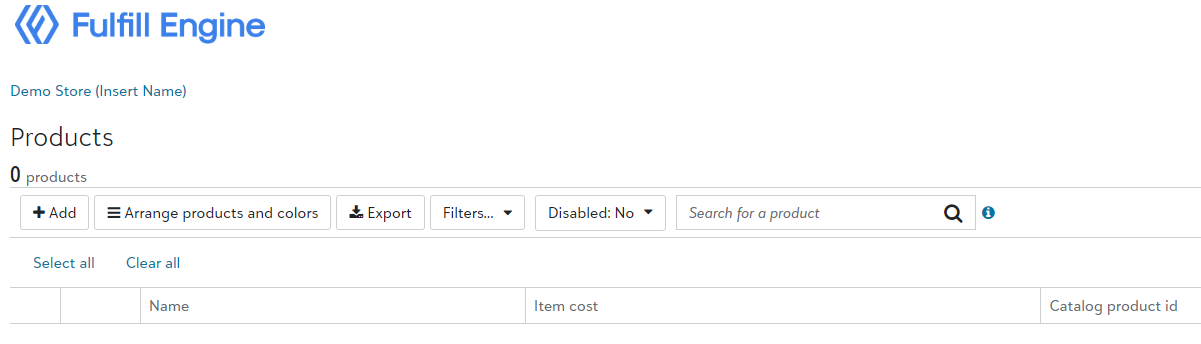
You will then be prompted to select your decoration method.
Once you select the decoration method, you will be prompted to the catalog. Here you are able to search for new products, or quickly navigate to a specific item by searching the SKU number.
1. Upload art: upon selecting the garment, you are able to select your art file and select the size, placement, and other details.Embroidery requires a DST file. If you do not have the file, you can submit a request for us to digitize here.
Our digitizing services are a flat $20 fee per file and the file will be provided to you.
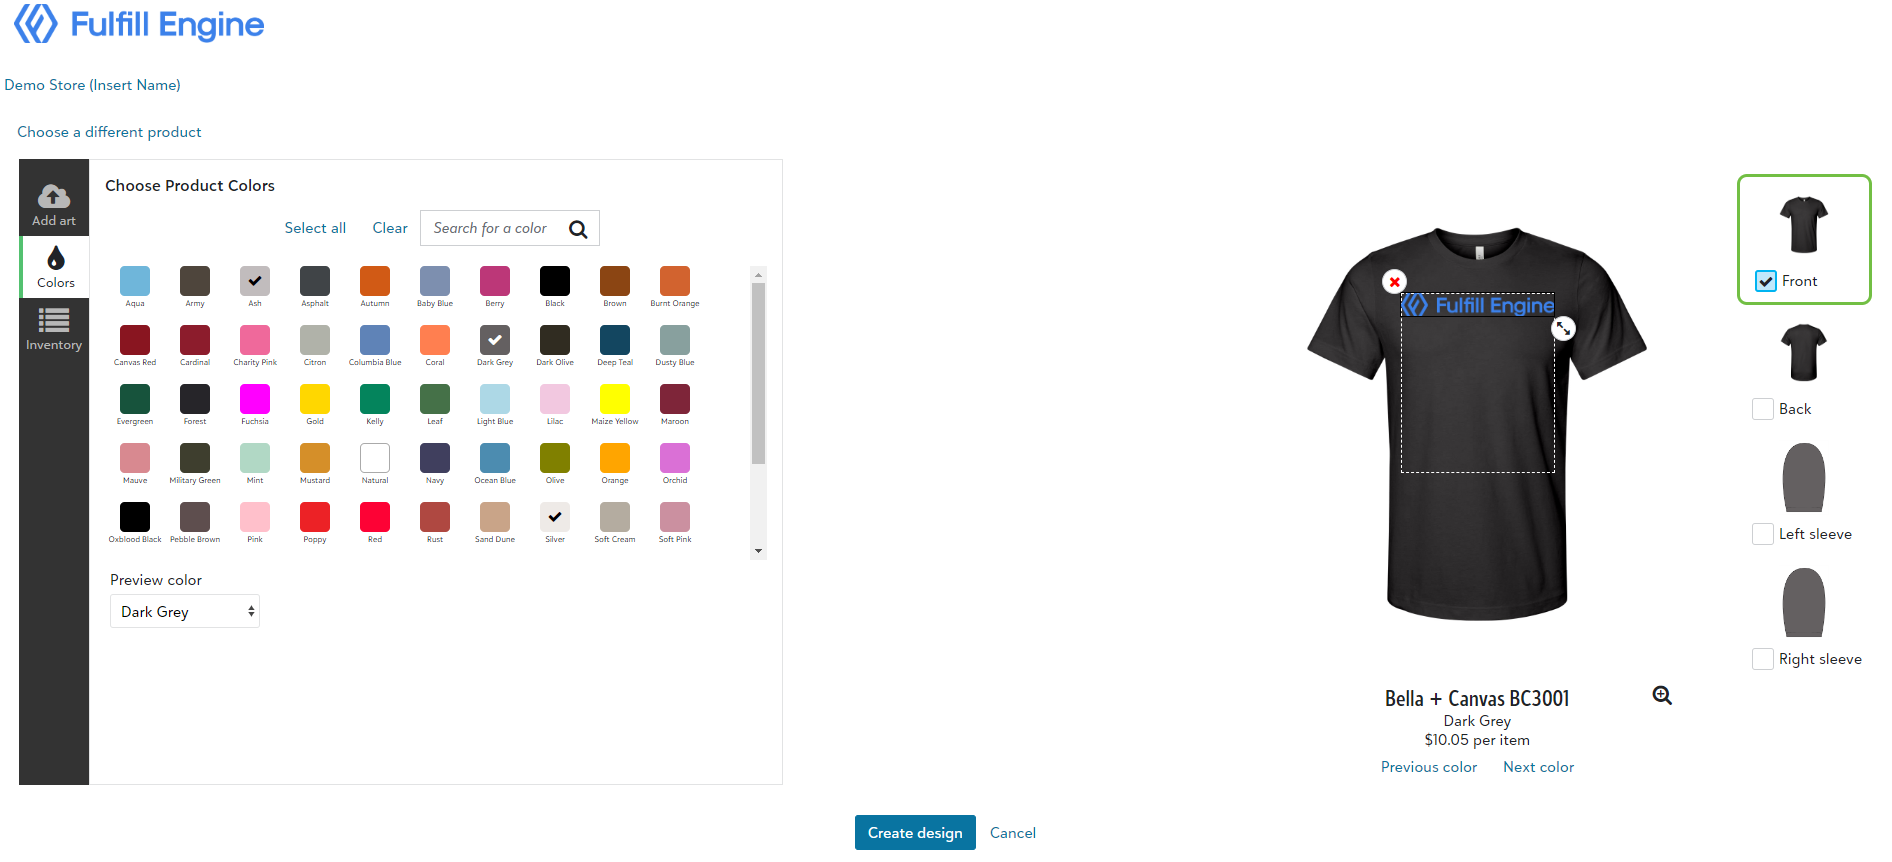
When you select the garment colors, a mockup will automatically generate on the right hand side. If you have art set on the back and/or sleeve(s) of the design, easily select the location to view the mockup.
These are the mockups that will auto generate to your webstore.
Interested in Customization? Learn more about that feature here!
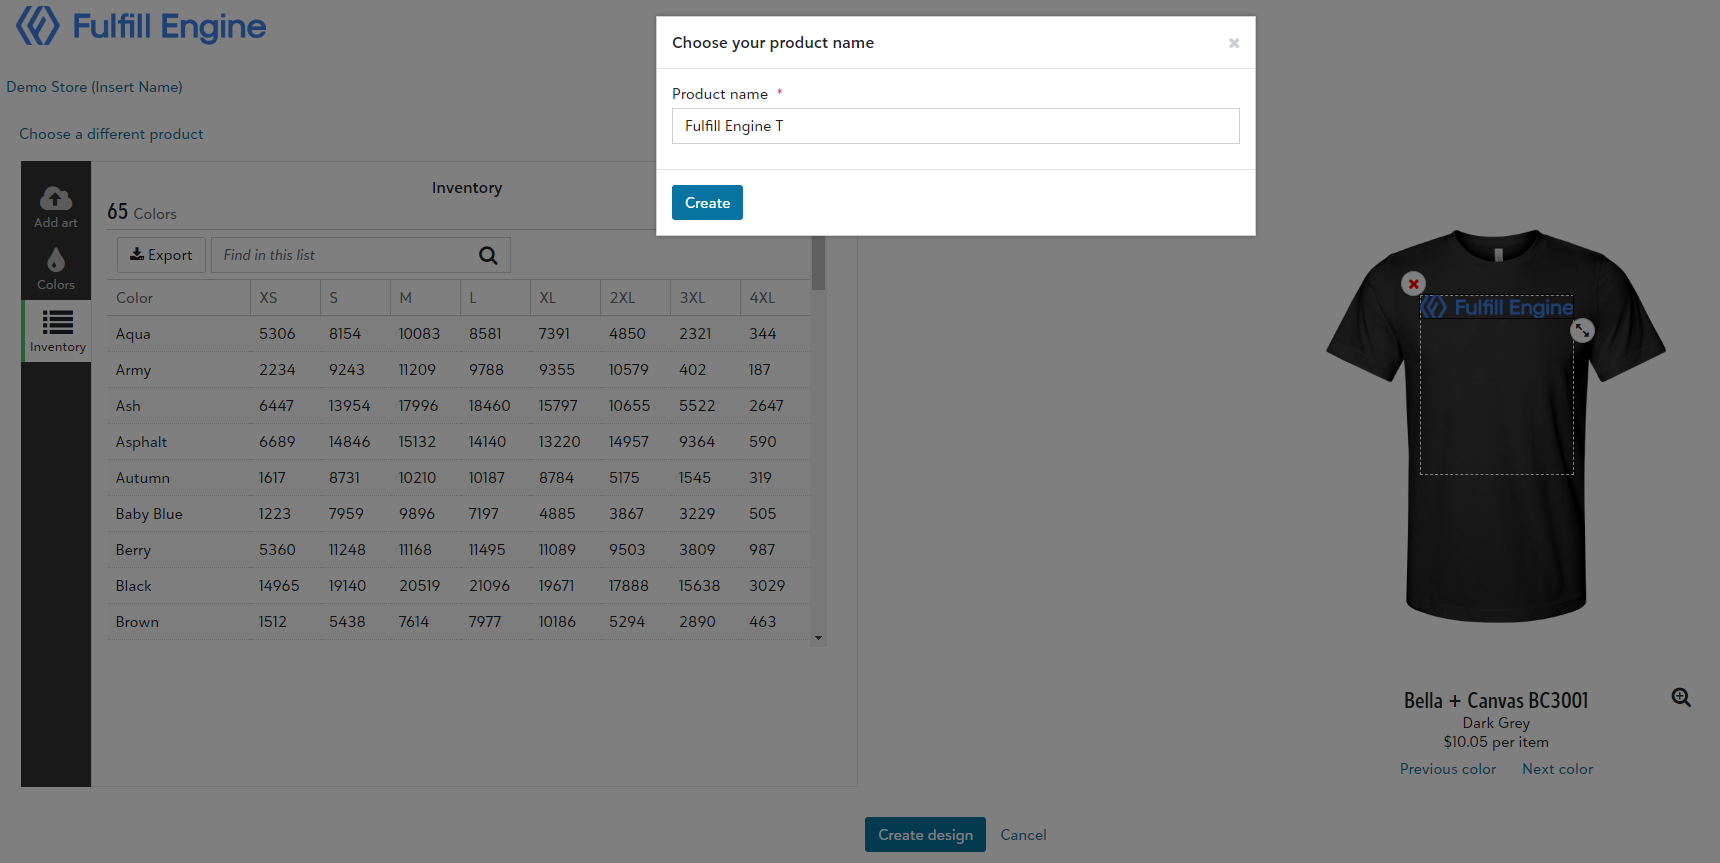
3. Confirm inventory: if an item is low on inventory a warning will populate. Since our inventory is pulled live from the suppliers, if something goes out of stock, the option to order will automatically be pulled from your webstore until it becomes available again.
4. Create and name product: select create design and you will see a popup asking you to name the product.
Congratulations! Your product has been made. However, the item is not ready to go live on your store just yet. Once a product has been made, you will be able to alter the product description as well as edit the design, color offering, and price.
This is also where you will set your profit for the item as either a set dollar amount, percentage, or a fixed sales price on the item.
Setting The Sales Price
Once you have created a product, from the product's page, you will set the pricing under Tasks > Edit Price.
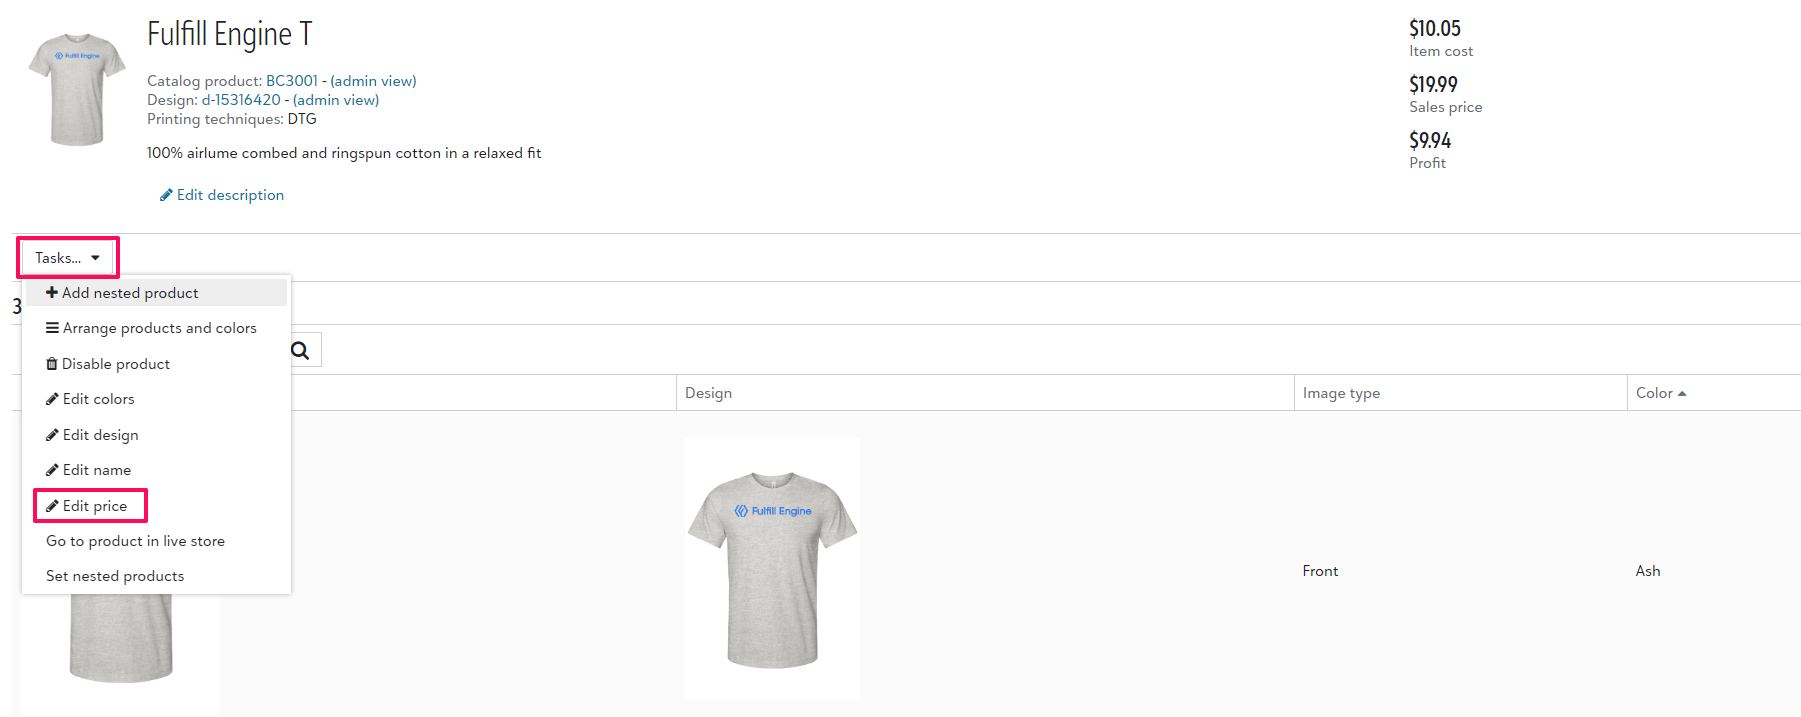
From here, you have a few options on how you would like to set your price. The Item cost is your cost. Your markup can either be a set rate, or a percentage. You are able to come back and edit your sales price at any time, as well as bulk update products. Learn more about that process here.
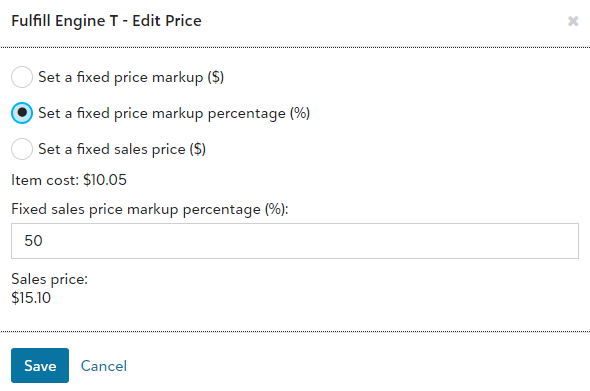
- Set a fixed price markup ($) - Use this option to choose exactly how many dollars you would like to earn as a profit on this item. The final sales price is calculated and shown below. As the market price of blank goods fluctuate, the store sales price will fluctuate and maintain a consistent fixed profit for the item.
- Set a fixed price markup percentage (%) - Use this option to choose a percentage that the sales price should be marked up above the item cost. The final sales price is calculated and shown below. As the market price of blank goods fluctuate, the store sales price will fluctuate and maintain a consistent percentage margin for the item.
- Set a fixed sales price ($) - Use this option to set an exact sales price for the item in the storefront. The current profit margin for the item will be shown below, but it may change as the market price of blank goods fluctuate.
Set the Category
If you would like to organize your store into categories, or subcategories, you are able to set those up prior to building products under your store's dashboard under Products > Categories.
Once categories have been established you will be prompted to set a new product into a category when it is created. You also have the option to edit the product's category under the Tasks dropdown.
Learn more about categories here.
Preview and Activate the Store
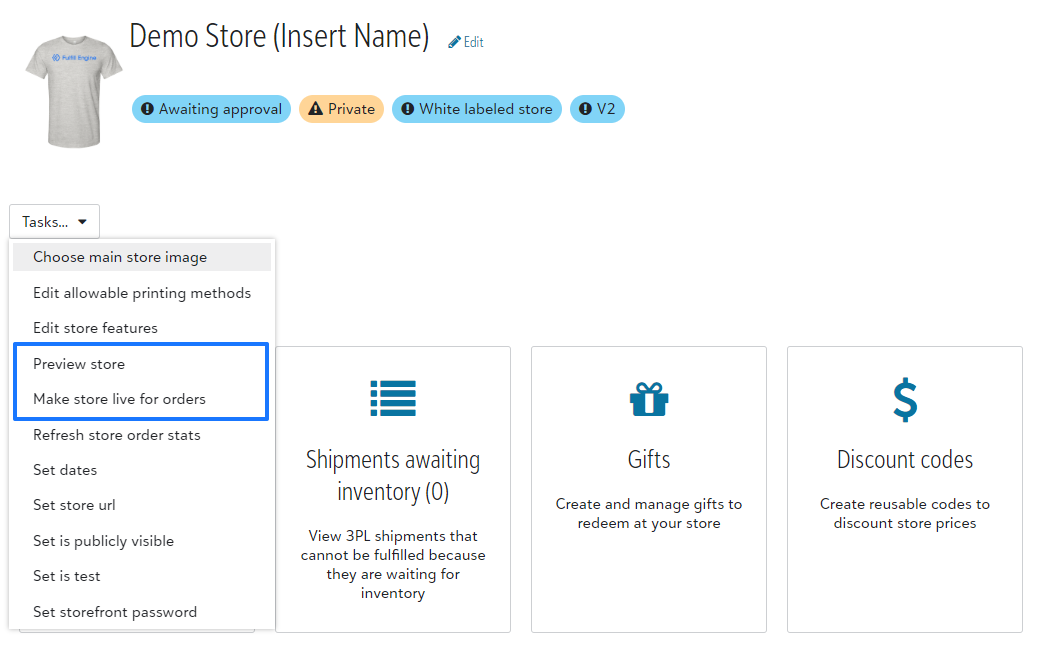
Under the Tasks dropdown on your customer's white-label store dashboard, you are able to select Preview store to view your products.
Once everything looks good, as an administrator, you will have access to Make store live for orders.