This article is specific to STAHLS' Fulfill Engine Seller Essentials accounts.
Easily offer customizable options such as department name, employee name, or number!
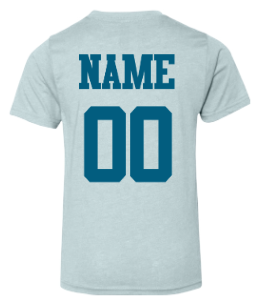
In the below example, we are going to walk-through the process of adding a name and number to the back of a garment for a team store.
First, you will follow the same steps to build a product.
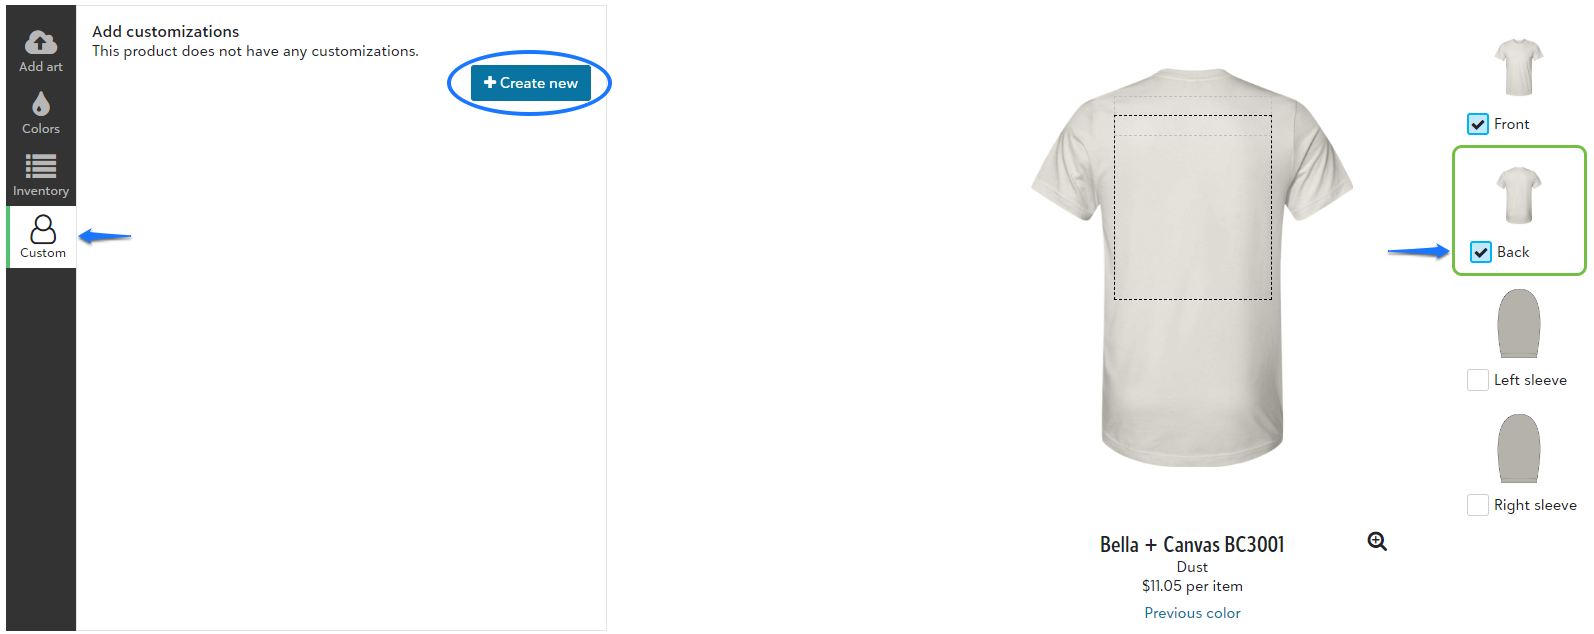
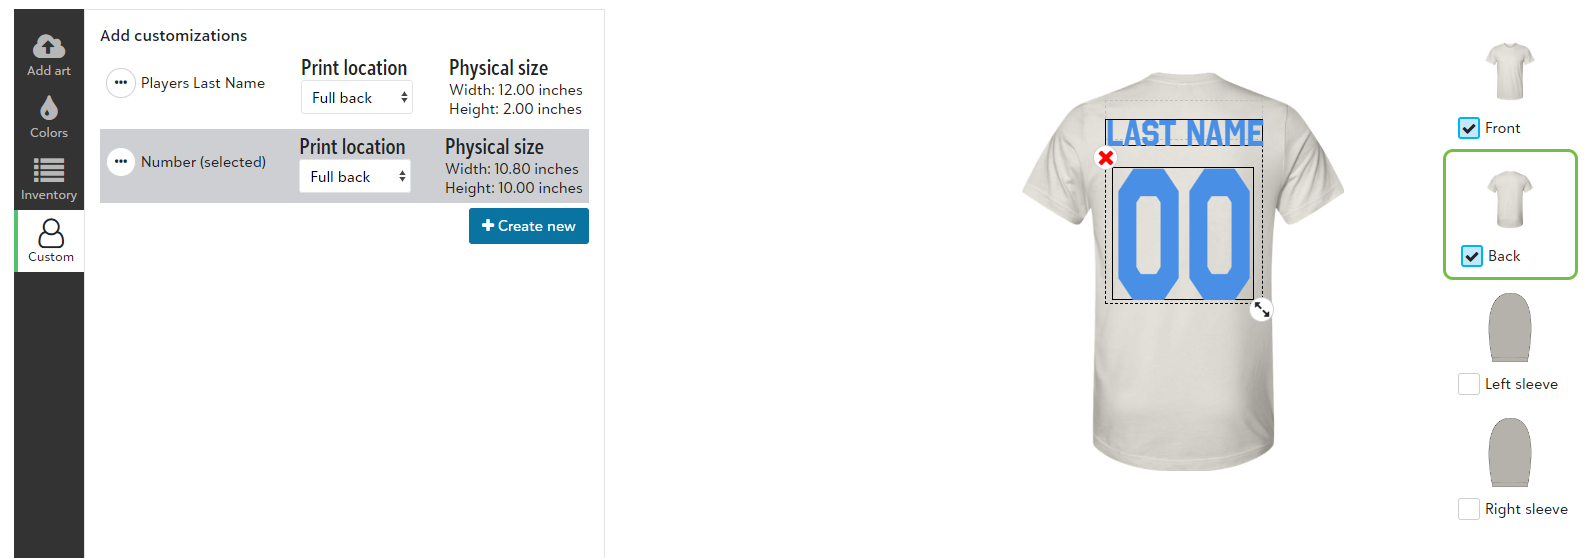
Once your item and colors have been selected, to add customization, you will select Custom, located on the left hand side of your product building dashboard.
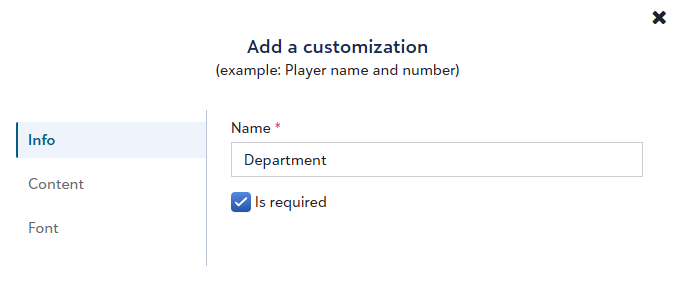
Ensure you select the location of the customization (Front, Back, Left sleeve, or Right sleeve) to the right of the mockup, then select to +Create new customization.
Types of Customization
Select from personalized text (used in the example within this article), static values, or images.
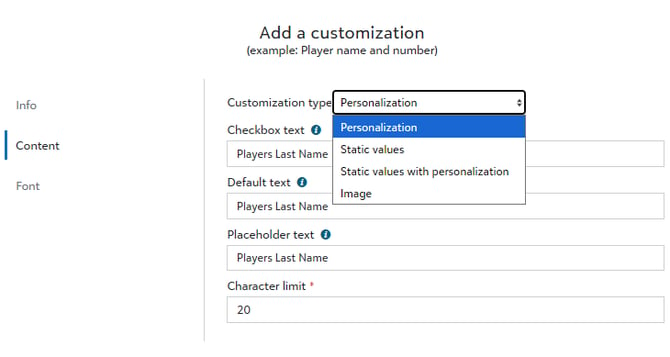
Select Use static custom values if you want to offer a preset dropdown of options such as department names.
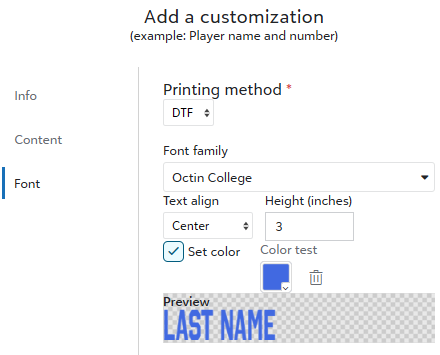
The Font tab is where you will select the requested font for the customization as well as the placement, defaulted height, and print color.
Since this is tied directly to a design ID, you are able to offer different print colors based on the garment color by nesting the products.
Repeat the process to +Create new customization as many times as needed. Once you have all the customization options built, you then have the ability to move and place the customized option(s) within the available decoration boundary box on the mockup.
Following the same process of building a product, you will then create and name the product. Once created, you will see a tag confirming the product Has customization.

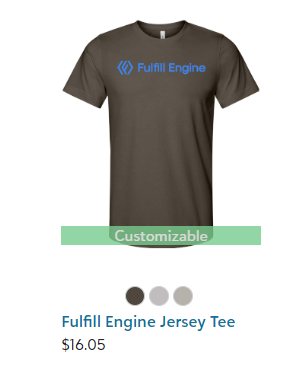
This tag transfers to the front end, and alerts your customer of their ability to customize!
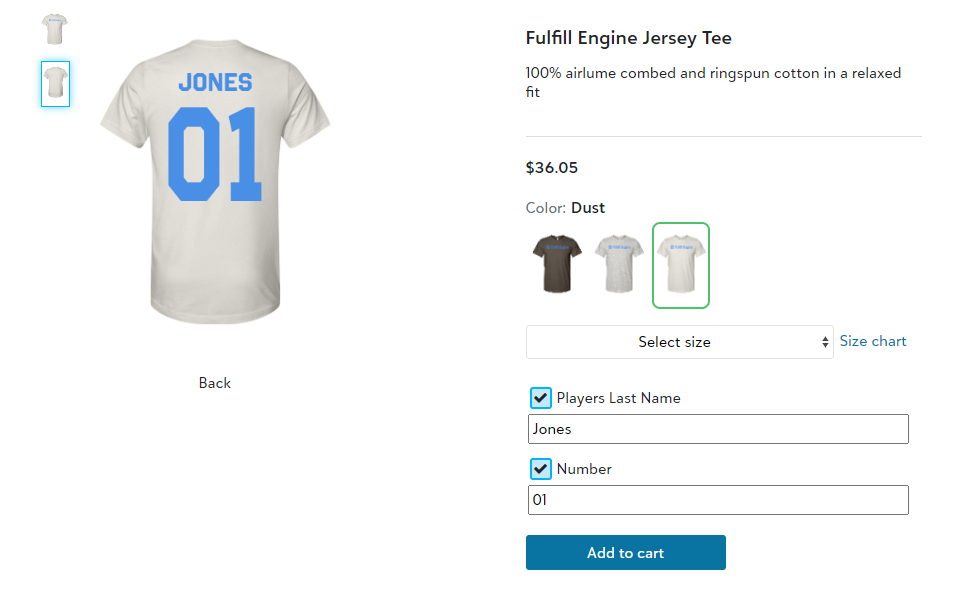
If the option to customize isn't required, your customer will simply select which customization they wish to add, which will then allow them to put in the text, and view the mockup in real time before adding the item to their cart.
Product-Level Customization Fees
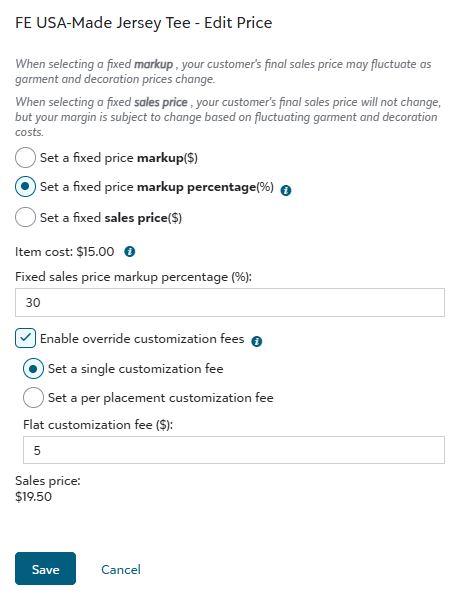
The Product-Level Customization Fee feature allows you to assign customization fees directly at the product level.
This update offers flexibility in how customizations affect retail pricing — especially for products set with a fixed sales price.
How it works
-
Product-level customization fees do not affect what you’re charged by Fulfill Engine.
-
They only determine how your store’s sales price changes when customers add customizations.
-
You can toggle and set these fees while editing the Sales Price Markup for any product.
- Customization fees from the price sheet will not be added in addition to product-level customization fees.
Example:
DTF = $6.50 per locationFixed sales price = $20
Product-level single (flat) customization fee = $5
Store sales price:
$20 base fixed sales price + $8 flat customization fee = $28 totalAccount decoration costs:
$6.50 (front DTF) + $6.50 (back DTF) = $13 total
Customize existing designs via order import
Customization is only supported within a store import. This is because the import option is only for saved existing products and doesn't accept in-line designs. You will build the product and set up the design which would include the font and placement. You then reference that specific customization as the one to set the value for.
Store owners can specify up to 5 customizations on existing designs when importing orders using the new fields.
Customization{#}_Name will use the name of the customization within the product design.
For text-based customizations, the Customization{#}_Value will be exactly what should be printed on the shirt.
For image customizations, the Customization{#}_Value will be the name of the artwork uploaded within the customization.