Inventory is a feature supported for Decorator Pro producing volume in house or through the Network for those on the Discount Tier 1 or Discount Tier 2 plan.
This process is similar to other decoration methods, but requires a few additional steps for the automation to connect the specific decoration to the product within production.
- Have decoration method approved for the store
- Enable 3PL (inventory) flag for the store
- Connect a new design to the SKU
- Create an inventory SKU for the decoration
- Set the warehouse bin location for the decoration
Let's dive deeper!
Setting up the Method
First you will need to confirm your Sales Portal offers the required decoration method. It is likely this was set up for you when your portal was created, but if you recently added this decoration method, you will need to confirm it is set up as an option.
You will do this on your Sales Portal > under Configuration > Decoration methods.
You also have the option to set decoration methods on an account or store level under the Tasks dropdown.
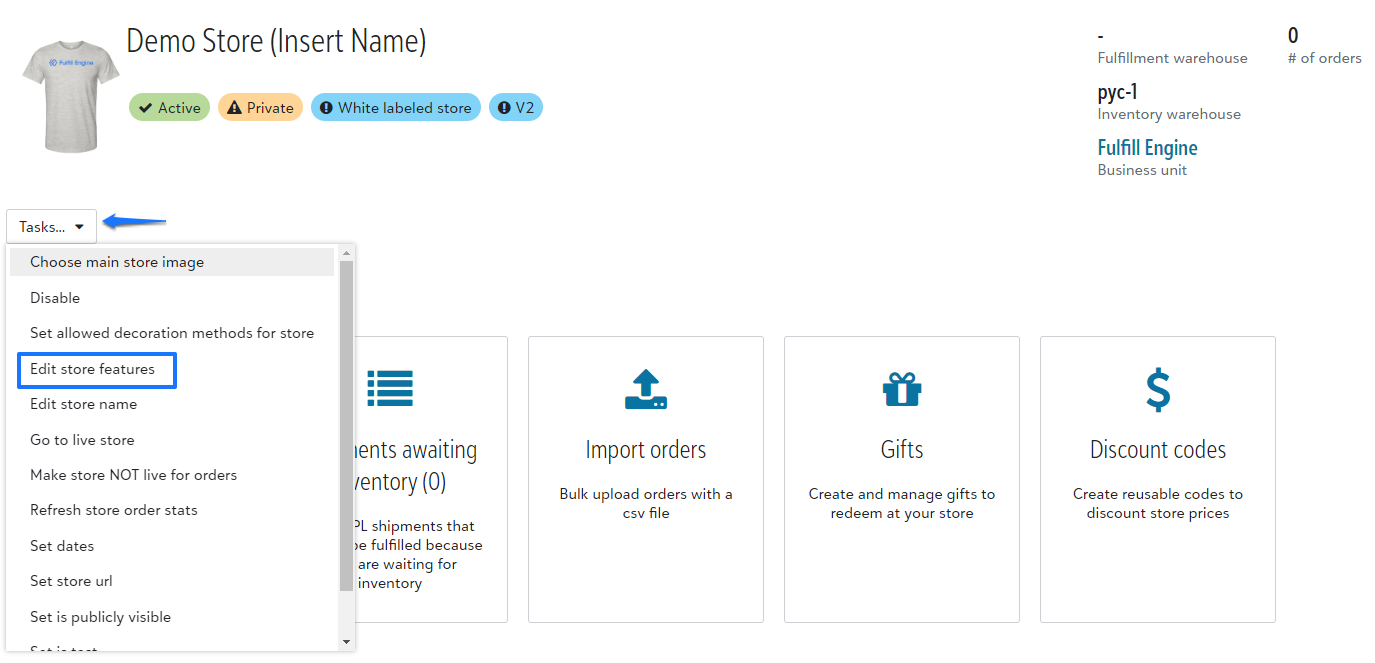
Once the method is set up, you will go into the account and enable the 3PL feature flag under the Store's Tasks dropdown > Edit store features > Allow 3PL. Set the location to your warehouse short name, which can be confirmed on the top right hand corner of your warehouse dashboard.
Building a Product
From your customers white-label store dashboard you will select the Products option > then select to +Add a new product.
At this time, if you are sourcing DTF transfers outside of our automation with STAHLS' for UltraColor™ MAX, you will need to set up the product as Screen Print Transfer to assign an inventory SKU.
Once you select the decoration method, you will be prompted to the catalog. Here you are able to search for new products, or quickly navigate to a specific item by searching the SKU number.
The art uploaded should reflect the end product. For example, if you have a leather patch, the artwork uploaded would be a rendering of that patch.
To build a true representation within the mockup, set the size of the art to match the end decoration and select the printing method.
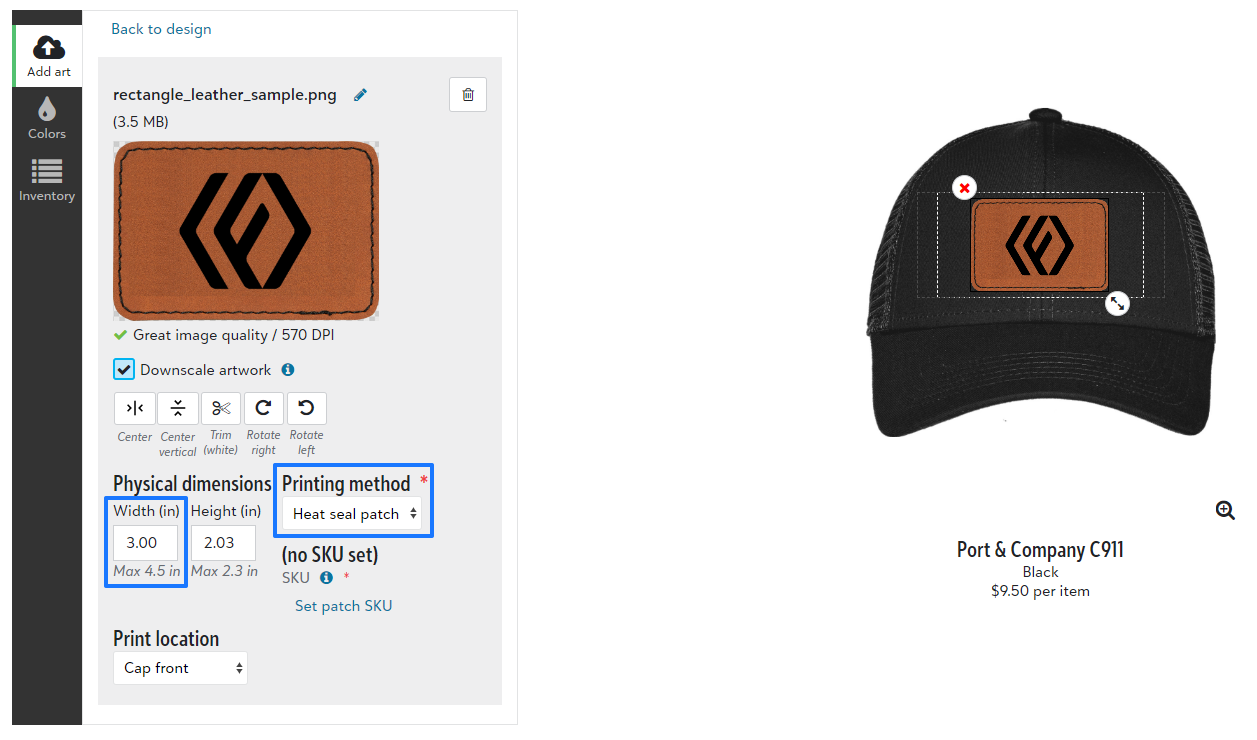
Under the Printing method you will need to set the SKU. This is where you are able to connect the product you are building to that specific decoration within production.
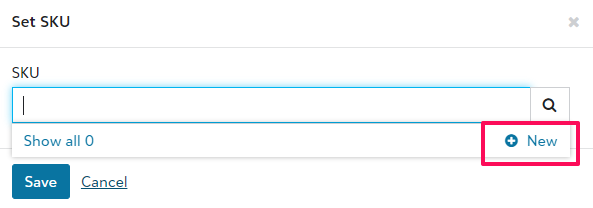
If the inventory has already been added within the warehouse, you will be able to select it from the dropdown. If it is not, you can select +New to add create a new SKU.
Setting Inventory
Now that the SKU for the decoration has been created, you will need to add inventory!
From your Fulfillment dashboard, you will go into the inventory located within the navigation bar on the top of your portal > 3PL campaigns and select the store.
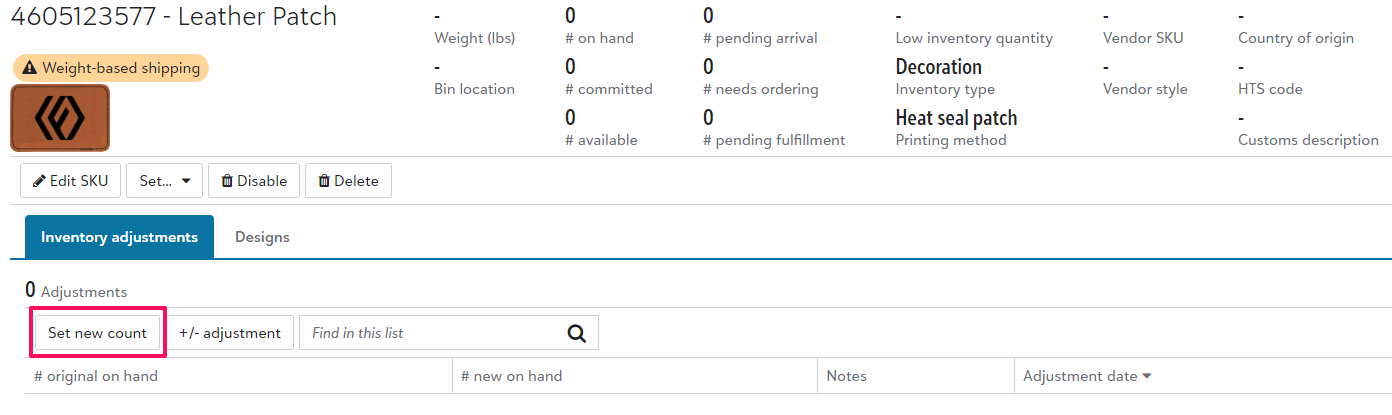
Here you will see all 3PL items on this specific store. You are able to select the System SKU and Set the inventory count.
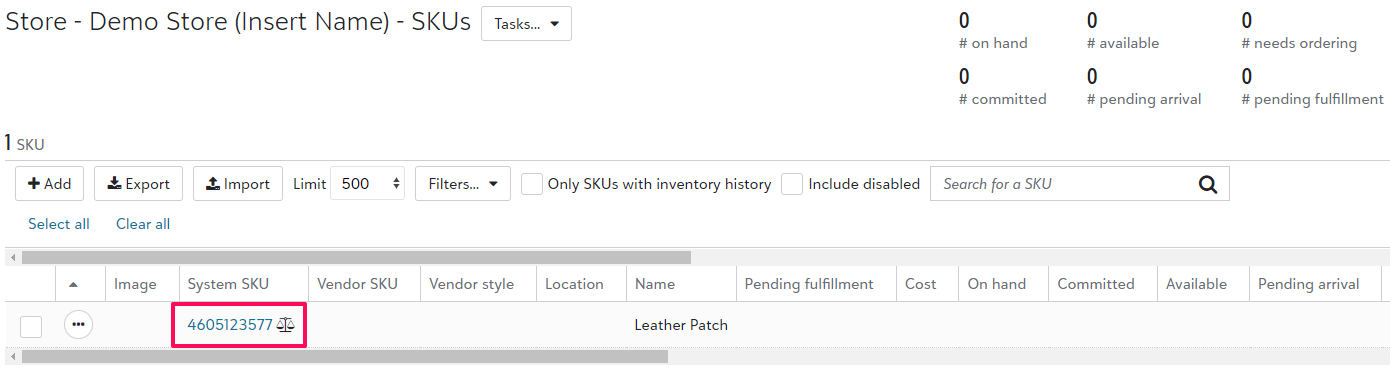
If you do not yet have the inventory, you are able to submit a Purchase Order within the system. When that inventory arrives, production will be able to receive it and place the decoration items within the designated bin!